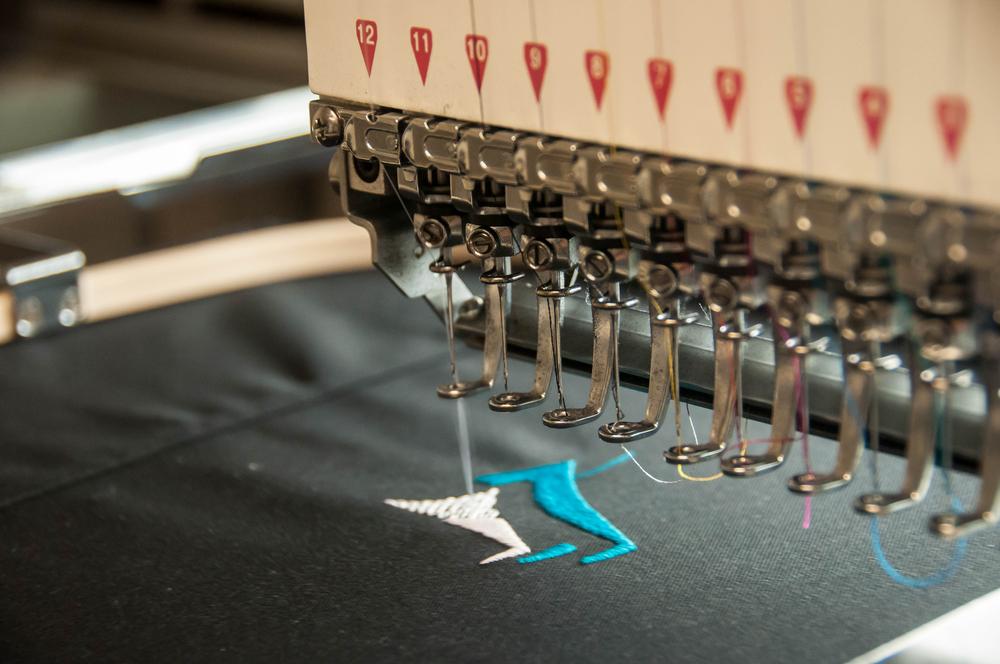
If you’re looking to add your logo or design to t-shirts, hats, or other fabrics, embroidery is a great technique to work with. At Custom Logos, we use professional machines to produce large-scale commercial embroidery products for companies ordering in bulk. However, if you’re interested in small-scale creative embroidery projects, you can do it from home. Here’s how.
Step 1: Gather Your Supplies
To embroider from home, you’ll need an embroidery machine. A cheap machine can run you about $300, but if you’re interested in getting into embroidery as a hobby, the investment can pay off. Check out your local craft stores or anywhere that sells sewing machines to compare prices. You’ll also need a computer to download your designs and transfer them to the embroidery machine.
Along with your machine, you will need:
- Stabilizer
- Spray adhesive
- Scissors
- Bobbins
- Bobbin thread
- Embroidery needles
- Embroidery thread
- Pins
- Hoop
- Fabric to embroider on
Unlike in sewing where you use the same thread in the bobbin as at the top of the machine, embroidery uses specific bobbin thread. You can get it pre-wound or wind it up yourself. For needles and thread, make sure you get embroidery-specific materials since they will differ from the needles and thread you use on a sewing machine.
When choosing a fabric to embroider on, consider the type of fabric that will work best with your design. Dense embroidery works best with sturdy fabrics like towels or canvas bags while open designs are better for lightweight fabrics like t-shirts.
Step 2: Prepare Your Fabric
Now that you have your supplies together, it’s time to prepare your fabric. Start by making sure the fabric is wrinkle-free. If it’s not, iron it. You’ll also want to wash it if it’s dirty; just make sure it’s completely dry before embroidering.
Next, cut a piece of stabilizer that’s slightly bigger than the hoop you’ll use for your design. Spray a generous amount of temporary adhesive on the stabilizer. It’s best to do this outdoors or in a controlled area, so you don’t get adhesive on your other craft materials. Quickly smooth the fabric you’ll embroider onto the top of the stabilizer. Then, hoop your stabilizer and fabric so that it stays taut but isn’t stretched. Be sure that the stabilizer is attached to the area you want to embroider and that the hoop centers over where you want the design. It helps to print the design and pin the paper in place to help visualize the final design.
Step 3: Prepare Your Design and Machine
Next, load your design onto your embroidery machine. The steps will differ depending on your machine, so be sure to check your manual to learn more. Your design (unless it’s original) should come with a thread list, but you can choose similar colors or use other thread colors if you’d like.
Once you have your design loaded onto your machine, it’s time to thread the machine. Insert your bobbin, and thread your first color. Then attach the hoop to your machine. Consult your machine’s manual if you’re confused on how to thread your machine or attach the hoop.
Then, start up the machine! Your machine will alert you when it’s time to change colors. Repeat the process of changing colors until the design is complete. Remove the hoop. If you’re using a cutaway stabilizer, all you have to do is cut the excess off once the design is complete, and then you’re done.
Congratulations! You’re ready to start your first creative embroidery project. What will you embroider first? Do you have more than a couple of things you want to have embroidered? Contact us here.
